Get started
iOS push setup
Configure Apple capabilities, create the correct APNs key, and register a physical device without confusing sandbox and production.Enable the app capability
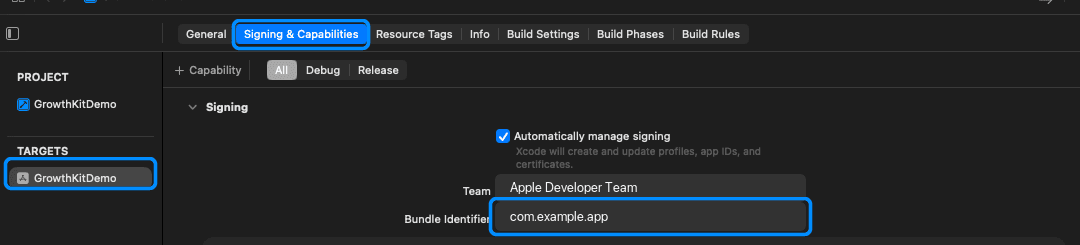
- Open the application target in Xcode.
- Choose Signing & Capabilities.
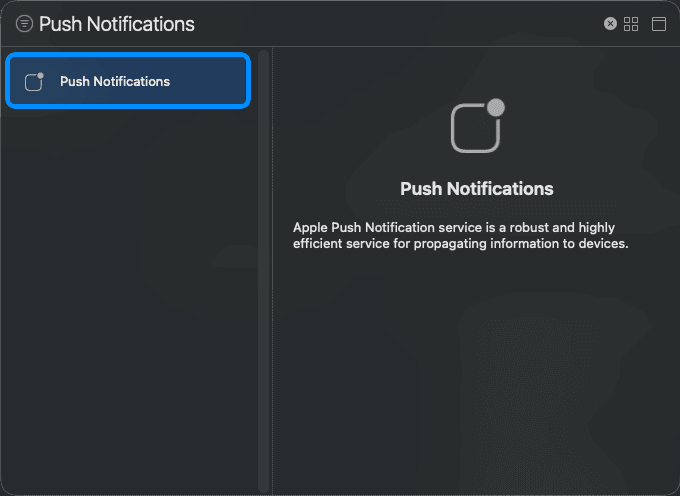
- Add Push Notifications.
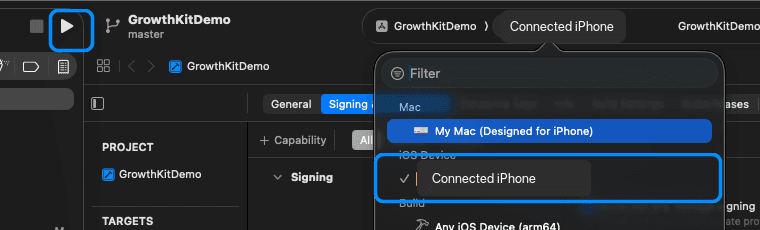
- Run with the correct development team and bundle identifier.
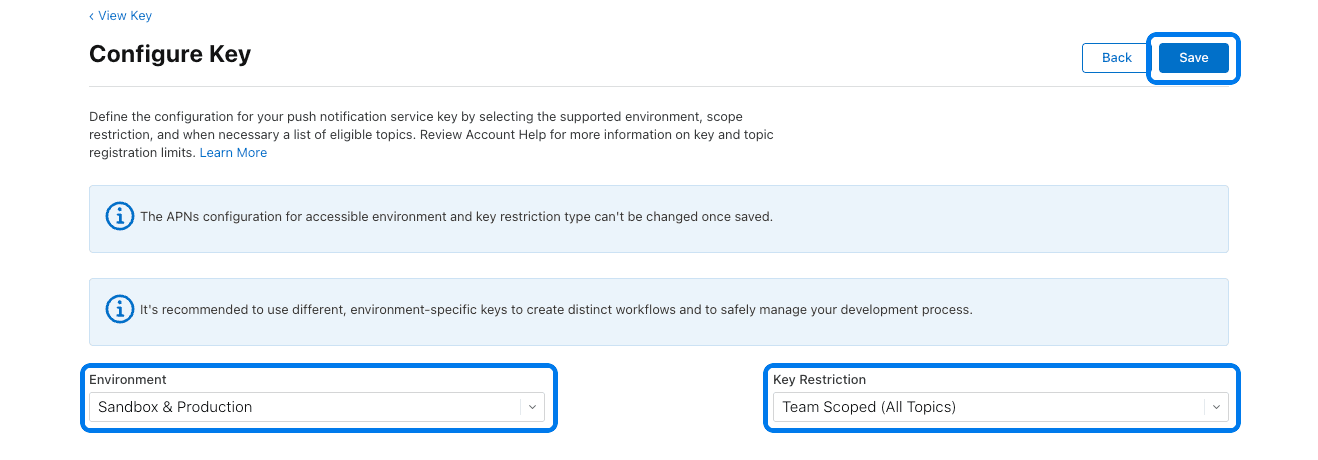
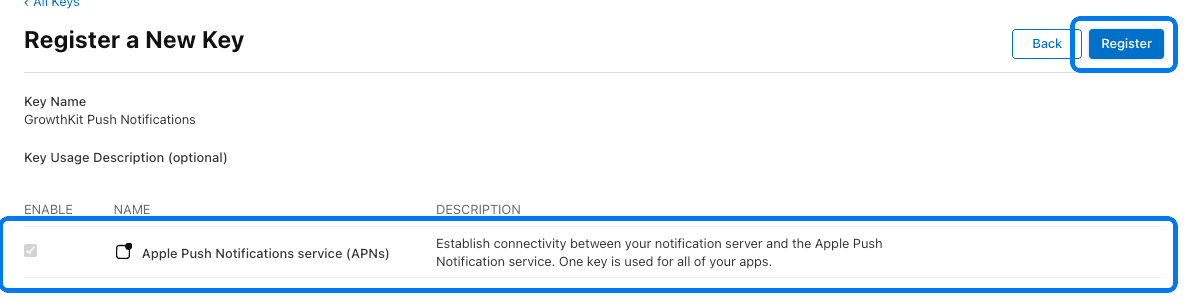
Create an Apple push key
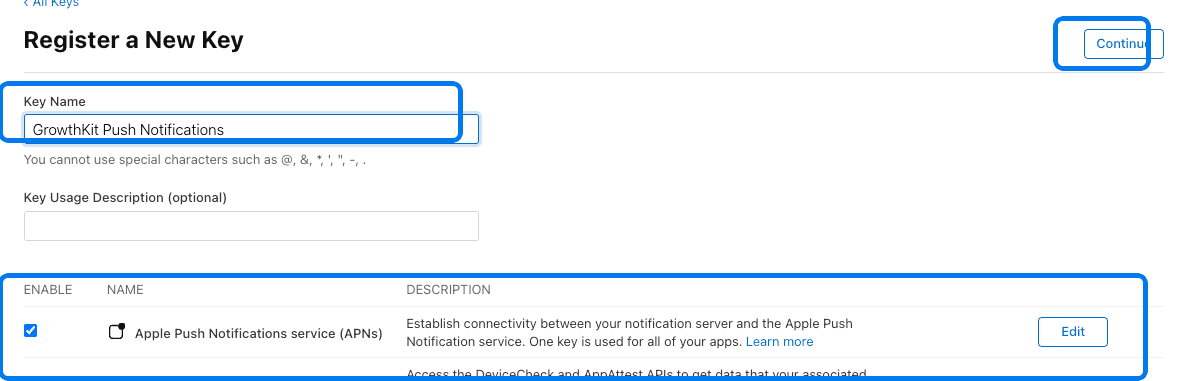
In Apple Developer, create a key with Apple Push Notifications service. The downloaded file is named like AuthKey_XXXXXXXXXX.p8 and can be downloaded only once.
Upload and verify
Open your application in the Notifie dashboard, then go to Settings → Push → Apple Push Notification service. Provide Team ID, Bundle ID, and the one-time .p8 file. Notifie detects the Key ID from the filename when possible and verifies the credential before activation.
Match the environment
| Build | Token environment |
|---|---|
| Xcode debug/development | APNs sandbox |
| TestFlight/App Store | APNs production |